Uploading Your First Video
Uploading video is step one of using any feature inside Parmonic. The best part? It's very easy.
Step 1: Log in to Parmonic https://go.parmonic.com/
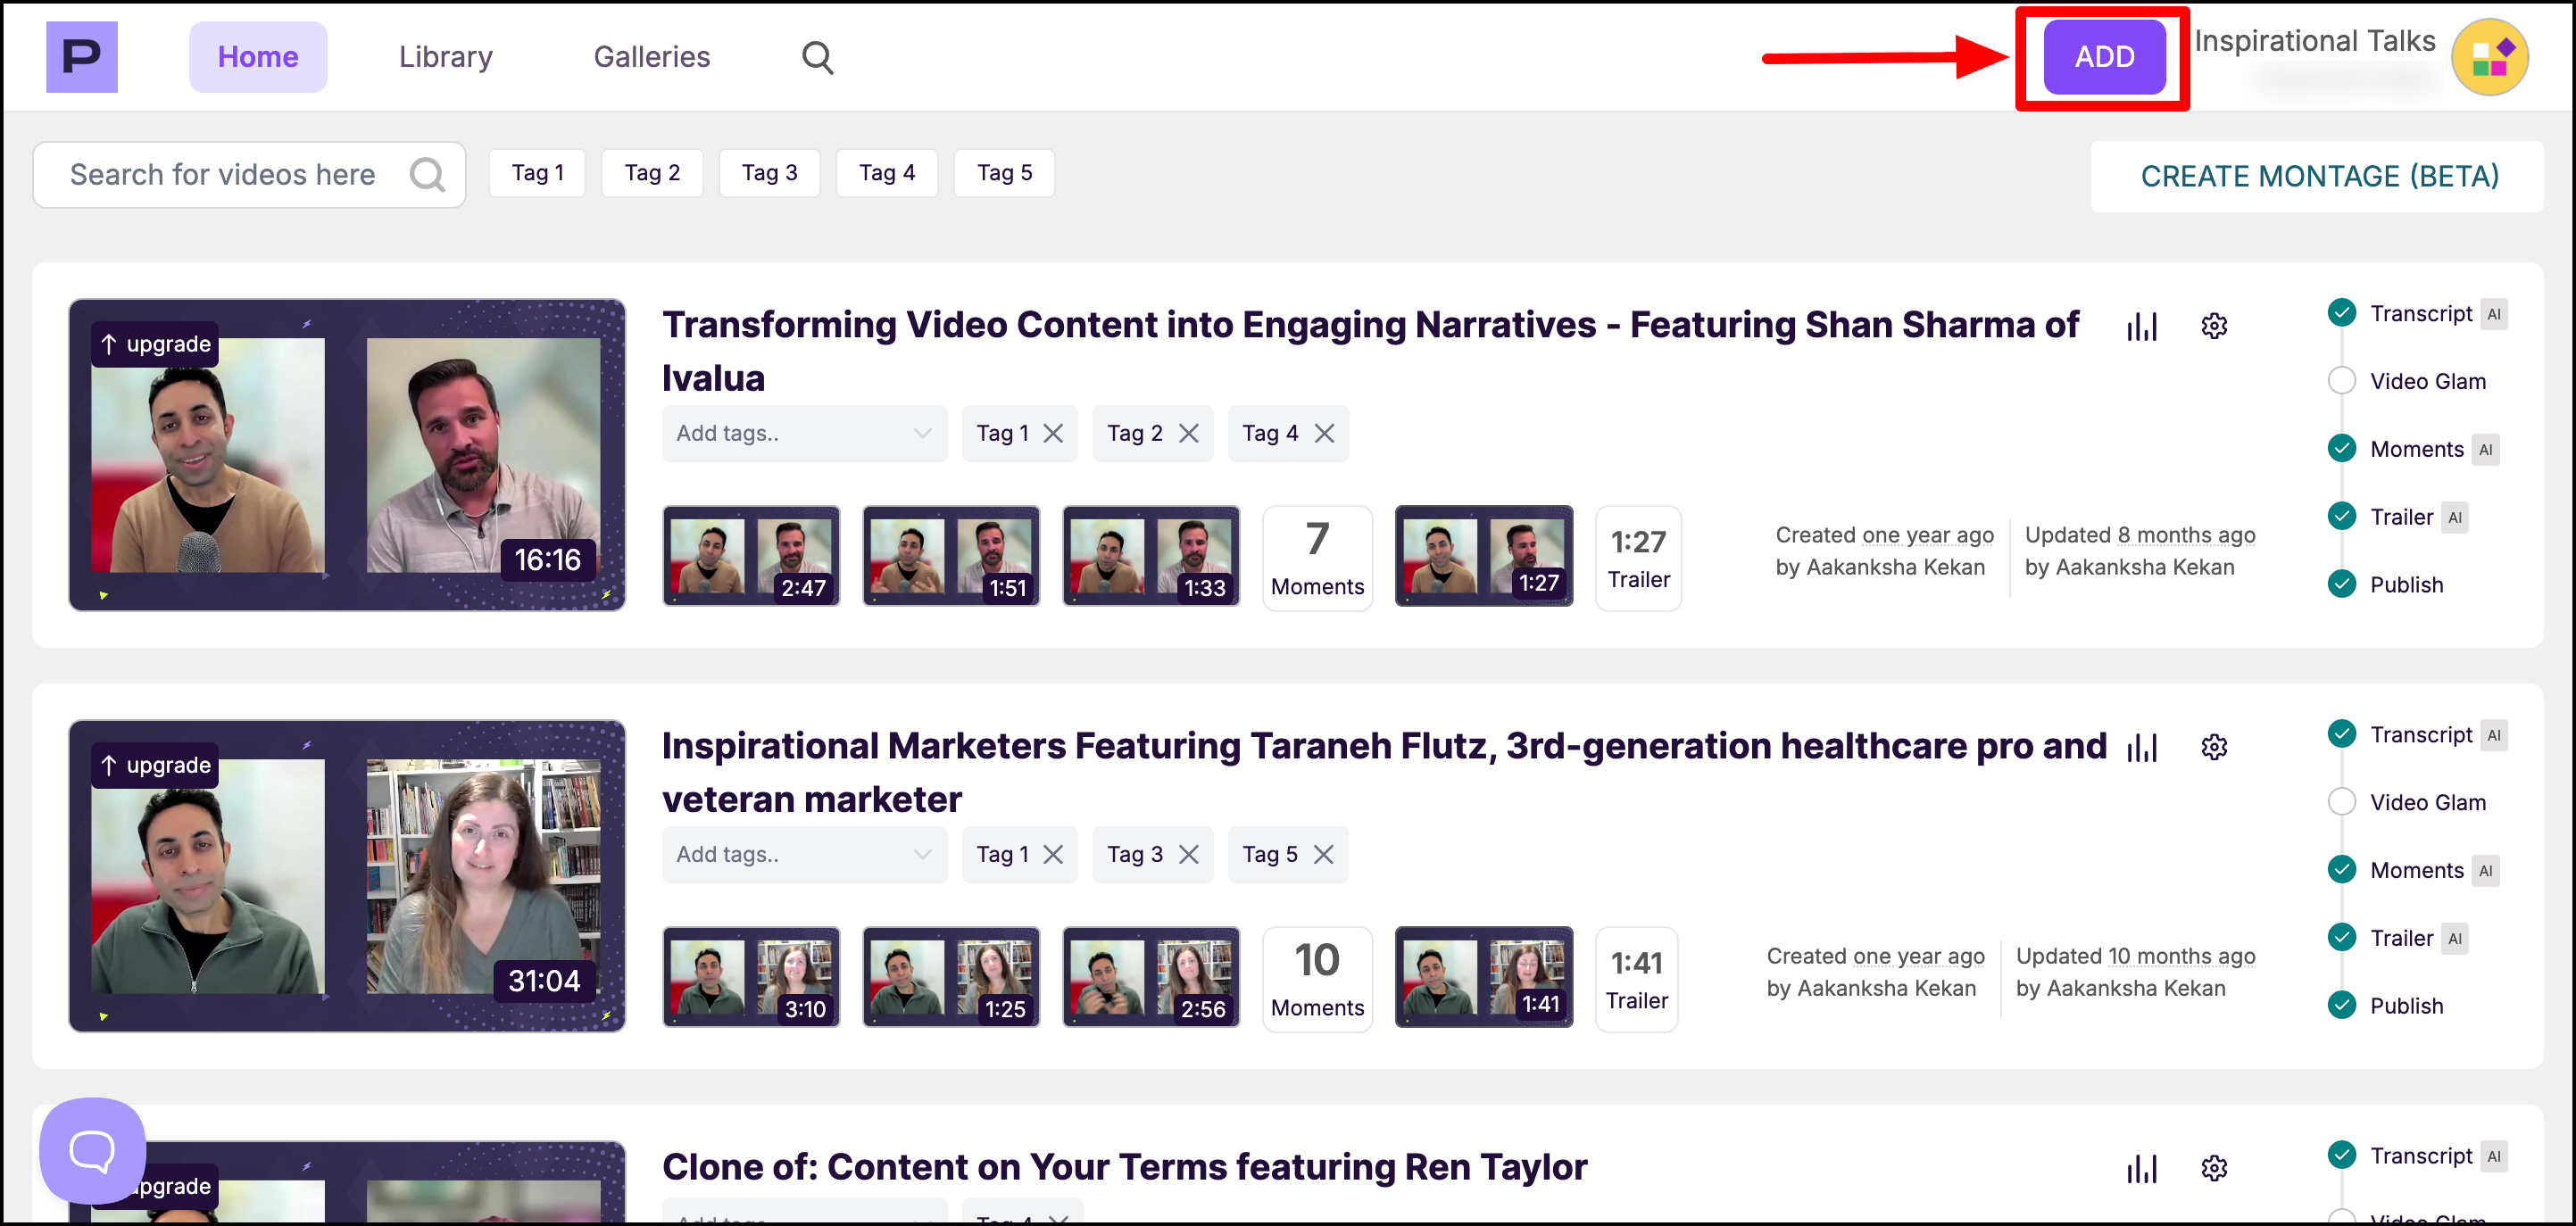
Step 2: Click on + ADD in the top-right corner of your account
Step 3: You will get two options - Upload or Import
- If you have a video file (or its URL), choose Upload Webinar.
- To import a recording via an integrated app, choose Import. Follow the steps here for Zoom Integration and ON24 Integration.

Step 4: You'll then be brought to this screen where you can drag & drop or the file on your computer.

Your video will continue to upload while you add details and preferences in the next step.

Step 5: Enter your video's title and language.

Step 6: Choose your AI preference.

Step 7: You can keep your original video or glamorize it to make the raw video look impressive and professionally produced.

Step 8: Enhance the sound quality of your uploaded long videos by removing filler words, background noise, echo, mic pops, and heavy breathing.

Step 9: Give our AI additional information about your video.

Step 10: Tell us how to optimize your video - choose from web, social, or blog, or all three.

Step 11: Customize your moments by selecting the duration and structure of title. You can create moments that focus on specific topics and speaker by choosing that option from 'Advanced instructions' section dropdown.

Step 12: Customize your trailer output - You can select either Highlight reel or Summary and submit for processing.


While your video is uploading, you can give AI additional information so that it creates moments tailored to your needs. To customize your moments and trailers, follow the steps here - https://help.parmonic.com/article/448-custom-moments-trailers