
Create A Blog From Key Moments or Short Videos
With Parmonic you can turn videos into readable content - blogs, articles, exec summaries and more.
You can use this feature in many ways -
- Distill key moments from webinars into compelling blog posts to boost content marketing.
- Enhance your SEO with keyword-rich blog posts generated from video snippets.
- Turn training videos into blog content for seamless internal knowledge sharing.
- Create comprehensive how-to guides and FAQs from your support videos.
- Reinforce sales messaging by converting pitch videos into engaging blog posts.
- Highlight event highlights in blog posts to drive promotion.
- Amplify social media and community engagement with blog posts from video snippets.
- Showcase thought leadership with blog articles from expert interviews and panel discussions.
Tip: You can create your own custom style and apply it to blog articles for a consistent look. Generate articles from any key moments or short videos and even rewrite the entire blog or specific sections to fit your needs.
Blogs are only available for videos with a recap. To generate a blog for a video without a recap, generate a recap first.
Step 1: Create a writer template
- Go to assets → writer templates

- You can use the built-in templates or create your own. To create your own, click on 'ADD WRITER TEMPLATE' on the top right.
- Configure the blog as per your content teams' guidelines
Custom prompts will be something that needs to be applied to all blogs that are created by the style. (eg: Do not use the word expert )

- Optionally include text from up to five blogs and click on the 'Submit' button.

Step 2: Create a Blog
- Go to the Moments tile of the Webinar for which you want to edit/create Moments.

- Scroll down to the WRITER module and click "GENERATE" to start a new document. This will take you to the writer module.

- Follow the steps:
-
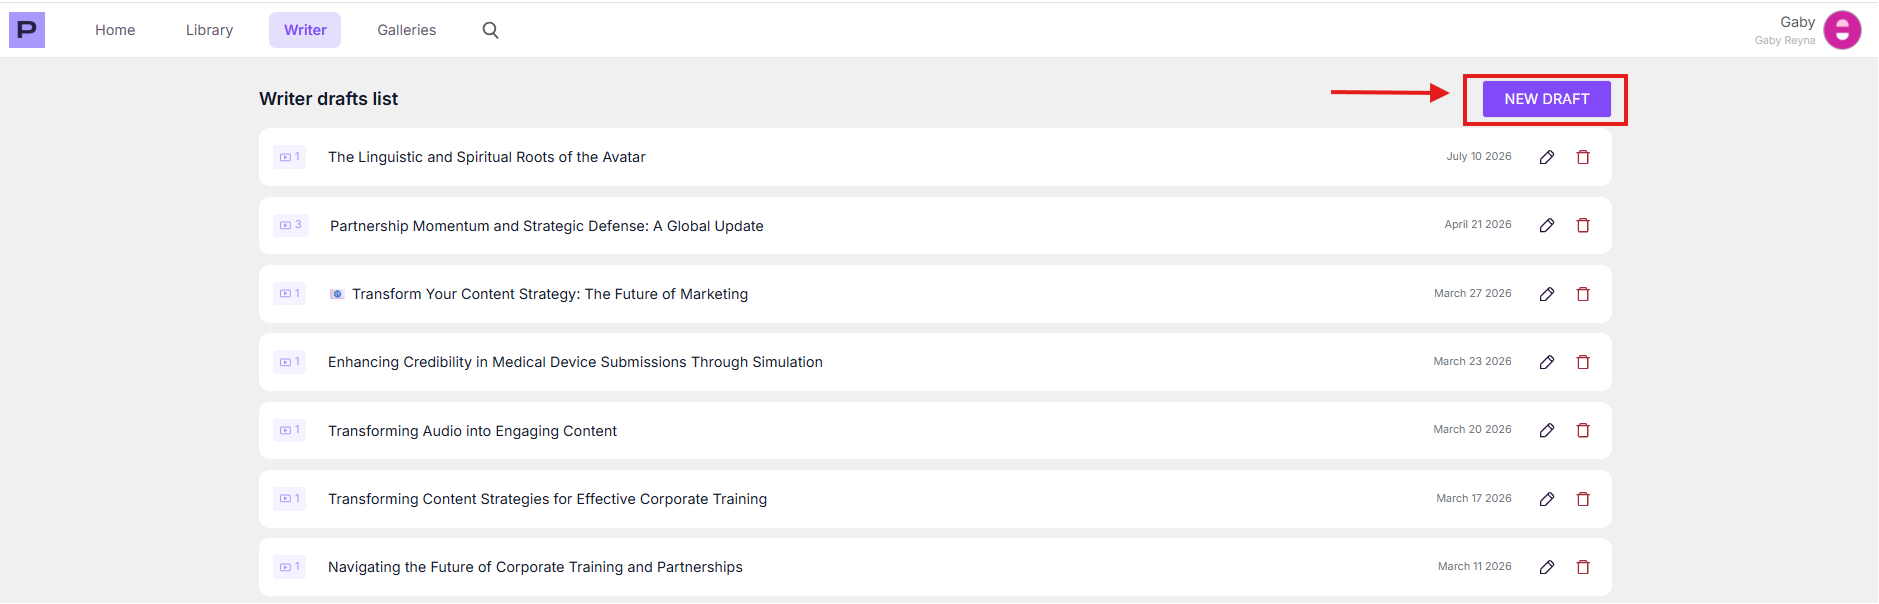
Click on 'NEW DRAFT'
-
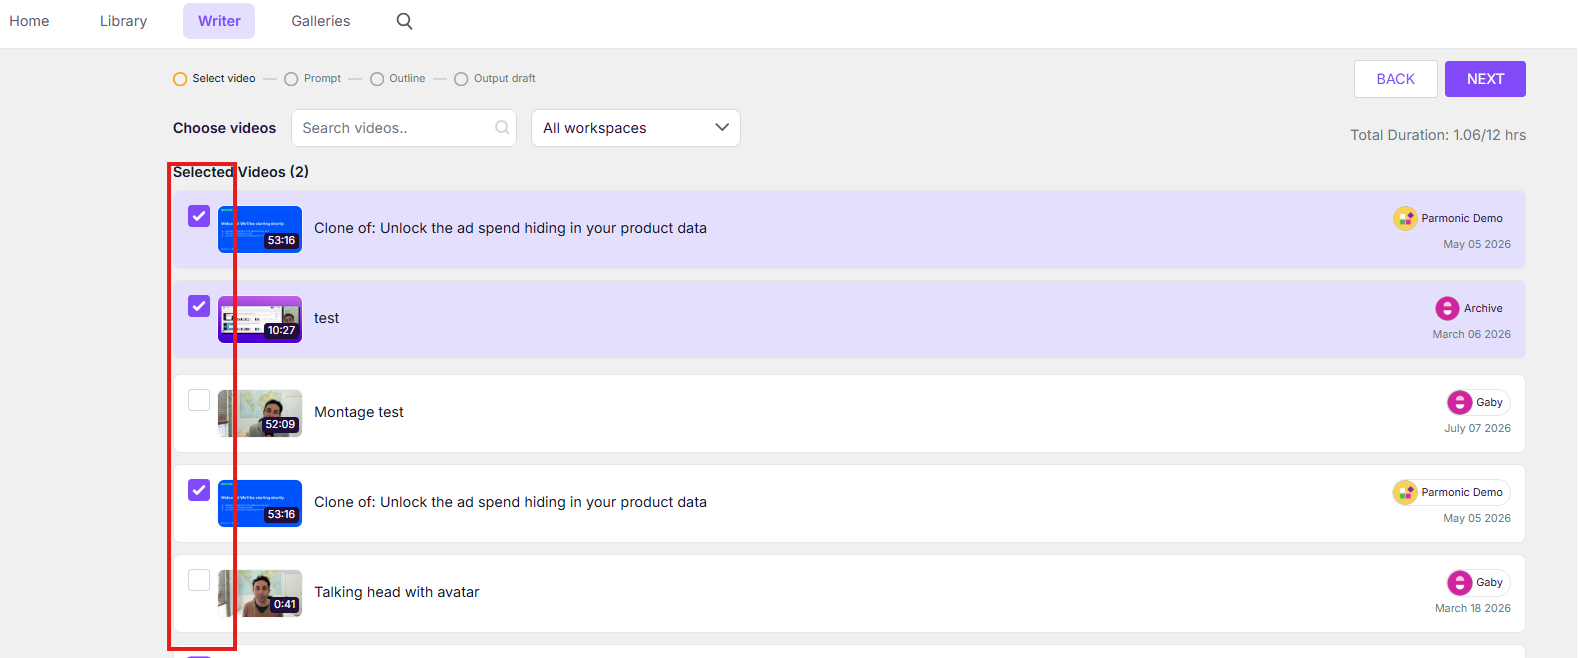
Select the video or videos you'd like to use for your written content.
-
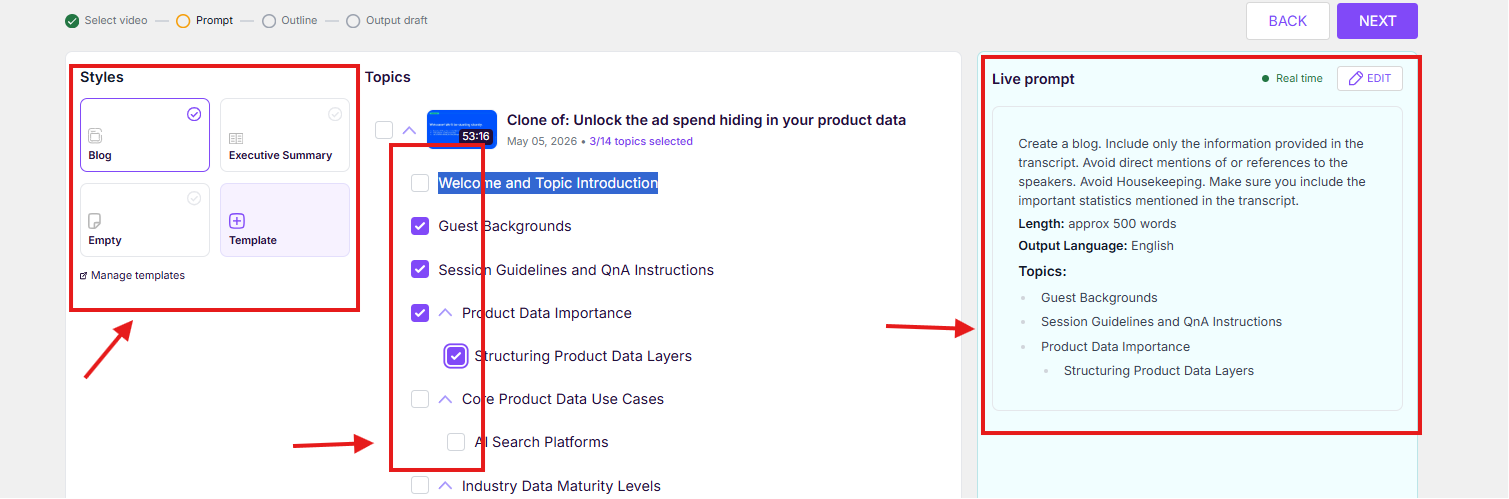
Select the template, pick topics and review/enter your prompt. Then click on 'NEXT' to create the outline.
- review the outline and make corrections by clicking on 'BACK' if necessary.
- when you're happy with the outline, click on 'NEXT' to generate the written content.
-
Step 3: Rewrite the Blog
- You can choose to rewrite the entire blog by clicking the 'More options' button on the top right corner and select the 'Regenerate' option.
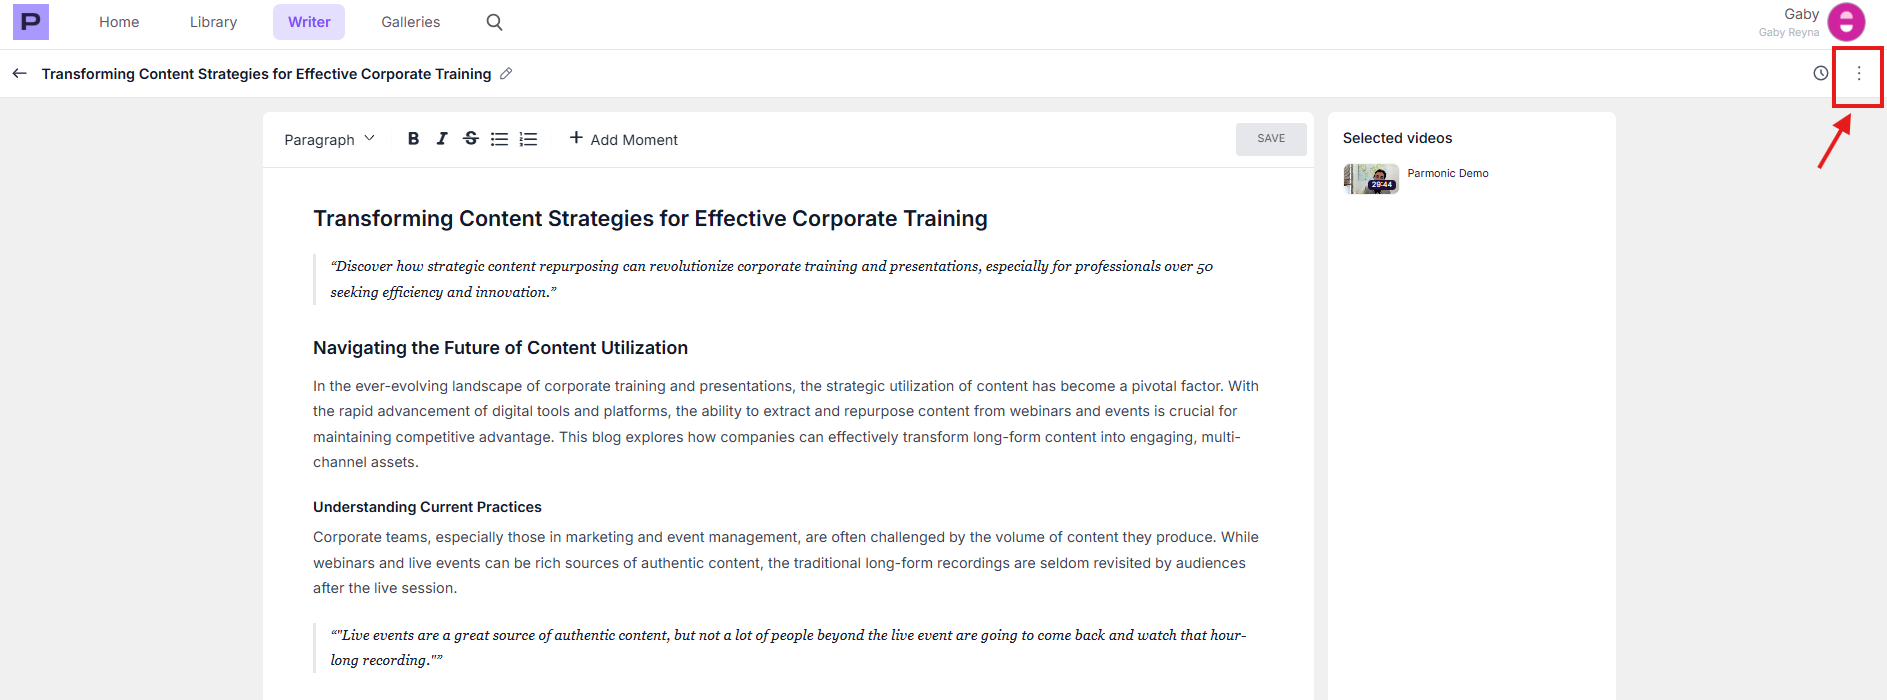
- You can also manually edit the blog or use the options in the editor.

- You can use AI to rewrite certain sections of the blog by following these steps:
-
Select a certain text and click on the 'Rewrite' button.

-
Add a prompt to guide the AI and click on 'Rewrite' button till you don't see something you like.

-
When you like what you see, click on 'Accept changes' button.

-
Click on the 'Save' button to save all changes.

-


