Setting up the Seismic integration
To set up Seismic Integration, you'll need admin access to both Seismic & Parmonic.
Step 1: From the dashboard, go to your user icon in the upper right corner & click to reveal a dropdown where you can select Settings.

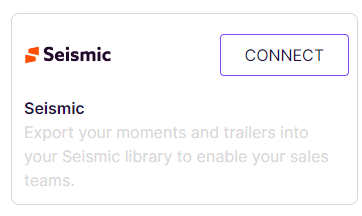
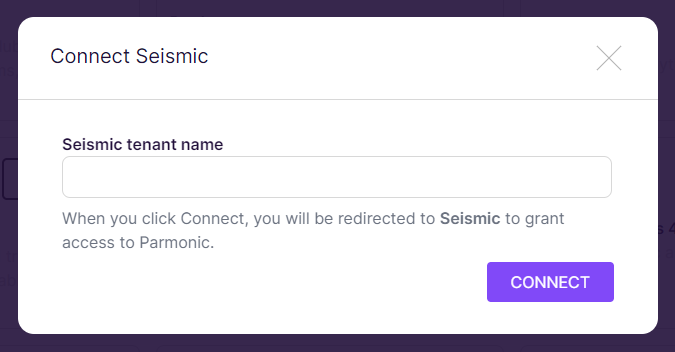
Step 2: Click on the Connect button below Seismic and follow the instructions. You will be redirected to Seismic to authorize Parmonic.
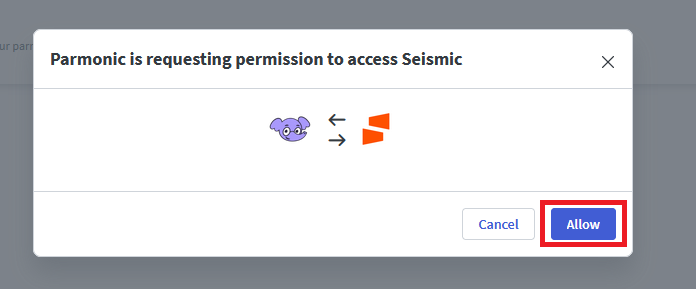
Step 3: Click the Allow Button.
Seismic Instructions
Step 1: Log in to Seismic
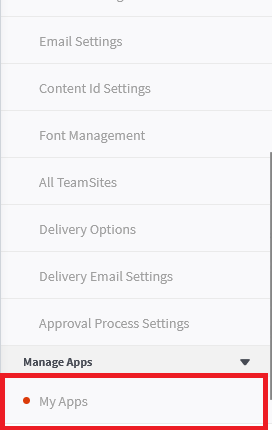
Step 2: Select Settings → System Settings.
Step 3: Select My Apps
Step 4: Seach Parmonic app → enable the app → allow access

The Seismic integration allows Parmonic users to export moment and trailer MP4s into a Seismic teamsite. Seismic users can then use these in Seismic
About Seismic:
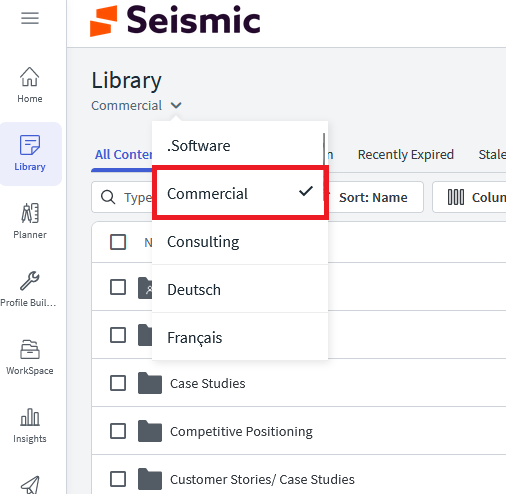
All content in Seismic is managed in the Seismic Library.
Content in the library is organized in teamsites.
Publishing content to Seismic from Parmonic:
Step 1: Browse to the webinar you wish to export.

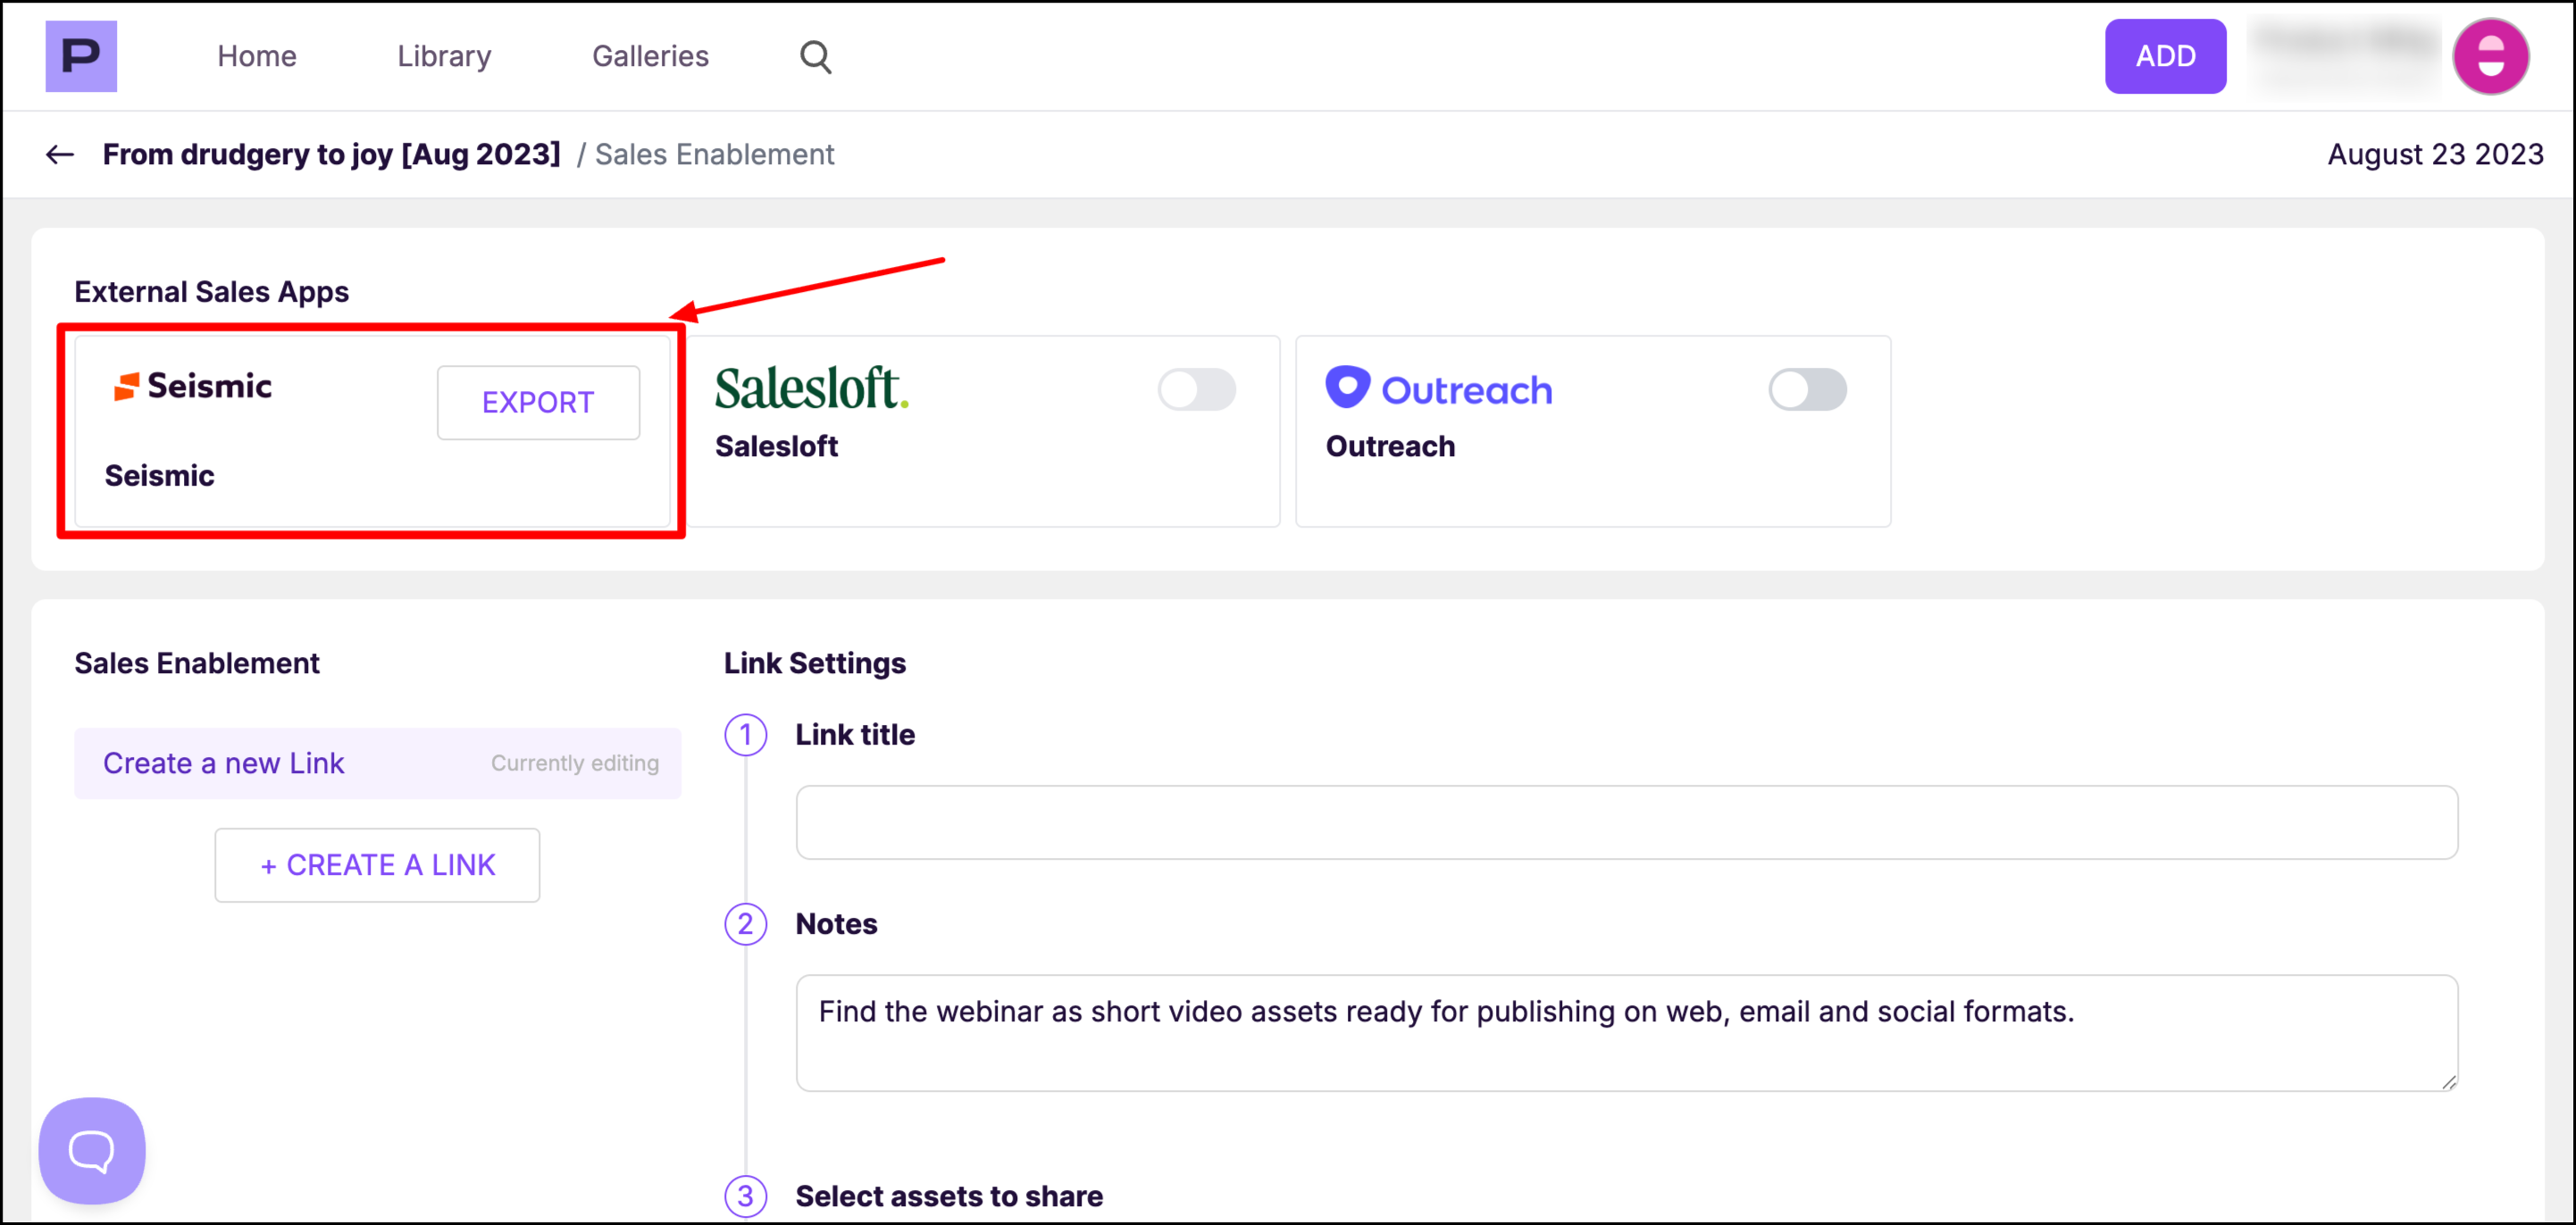
Step 2: Scroll down in the video dashboard and click on the Sales Enablement button.

Step 3: In the Seismic card, click on the export button.
Step 4: Pick the Seismic Team Site you wish to export to.
Naming convention
- Moments are titled
{{moment title}} - {{webinar title}} - Trailer is titled
Trailer - {{webinar title}}
Finding the exported content in Seismic
You should be able to find the exported content in Library → Teamsite → Parmonic → in a folder named after the exported webinar.